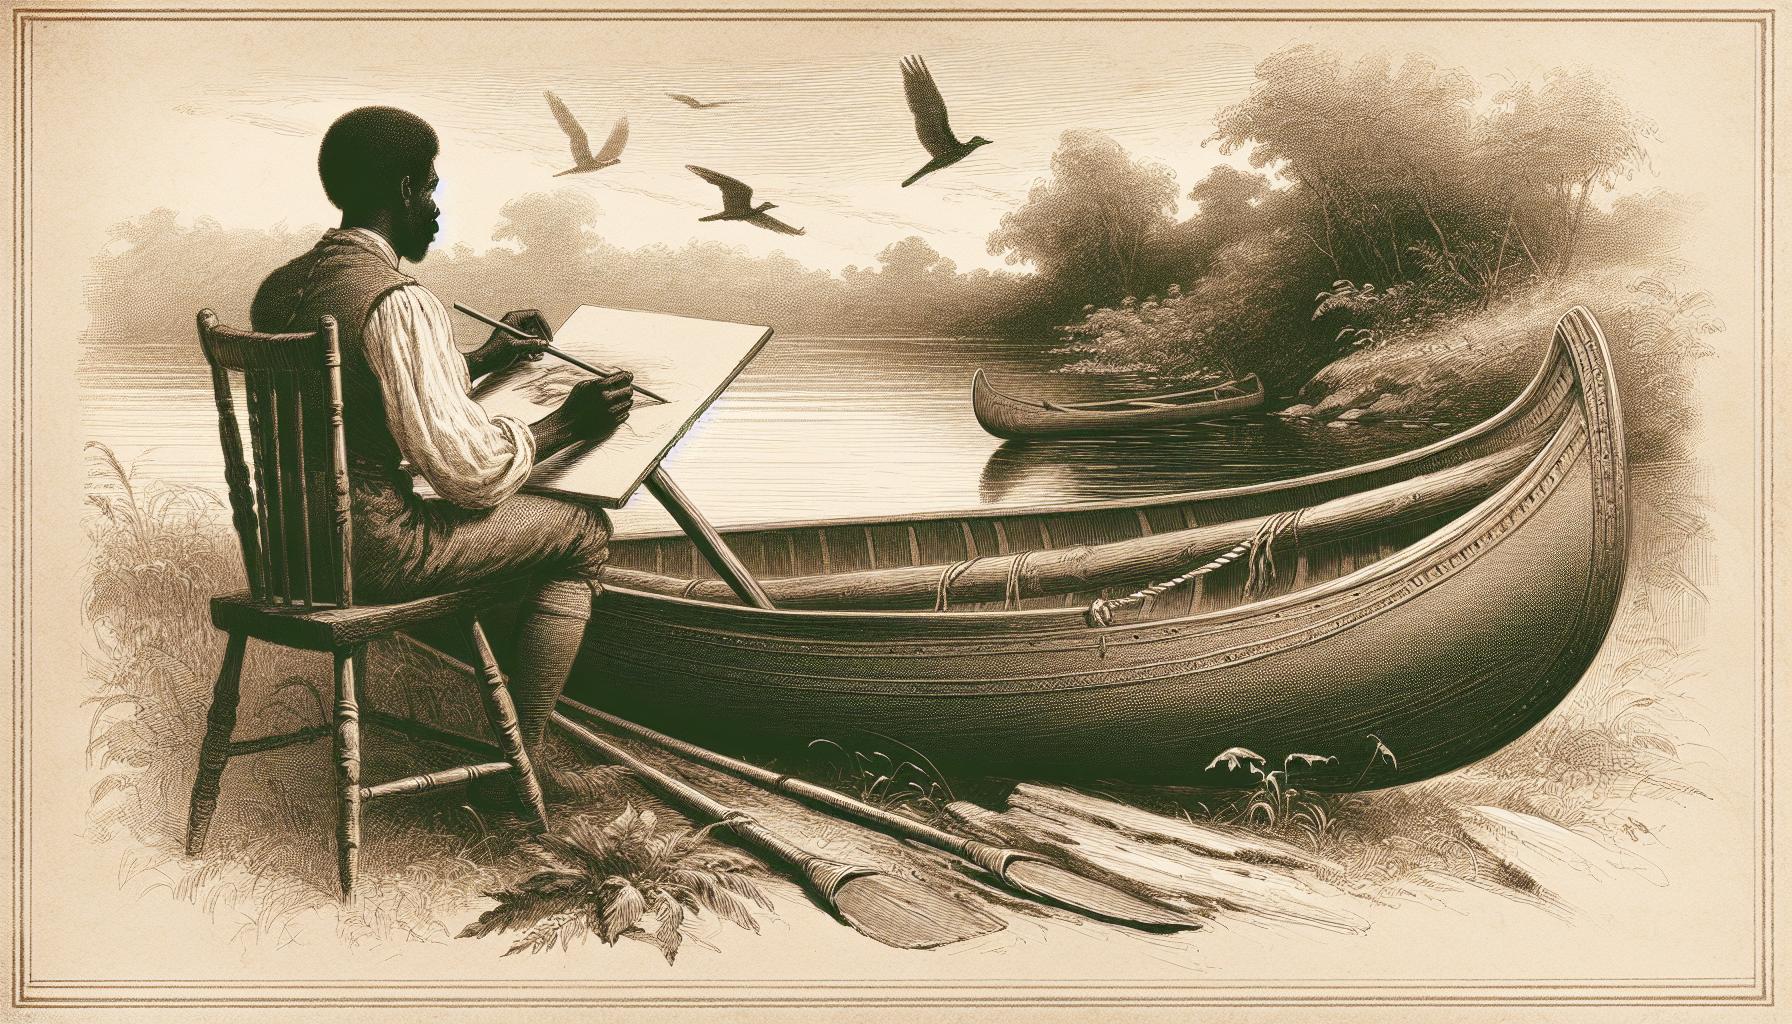
How to Draw a Canoe: Step-by-Step Guide for Beginners

Drawing a canoe might seem like a challenge, but with the right steps, you can create a stunning illustration that captures its elegance. Whether you’re an aspiring artist or just looking for a fun project, learning to draw a canoe is a rewarding experience that combines creativity with attention to detail. It’s all about breaking the process into simple, manageable steps.
You don’t need to be a professional to get started—all you need is a pencil, some paper, and a bit of patience. By focusing on the canoe’s unique shape and smooth curves, you’ll bring your artwork to life in no time. Ready to dive into the world of sketching? Let’s explore how you can transform basic shapes into a realistic and beautiful canoe design.
Materials Needed For Drawing A Canoe
- Pencils: Use an HB pencil for outlining and softer pencils like 2B or 4B for shading. These ensure precision and depth.
- Eraser: A kneaded eraser helps remove pencil marks cleanly, preserving the paper.
- Paper: Choose smooth, high-quality drawing paper to support detailed lines and shading.
- Ruler: Use a ruler to maintain symmetry and draw straight lines for the canoe’s edges.
- Blending Tools: Use blending stumps or cotton swabs for smooth shading and transitions.
- Sharpener: Keep the pencil tip sharp for finer details.
Gathering these tools aids accuracy and enhances the final illustration.
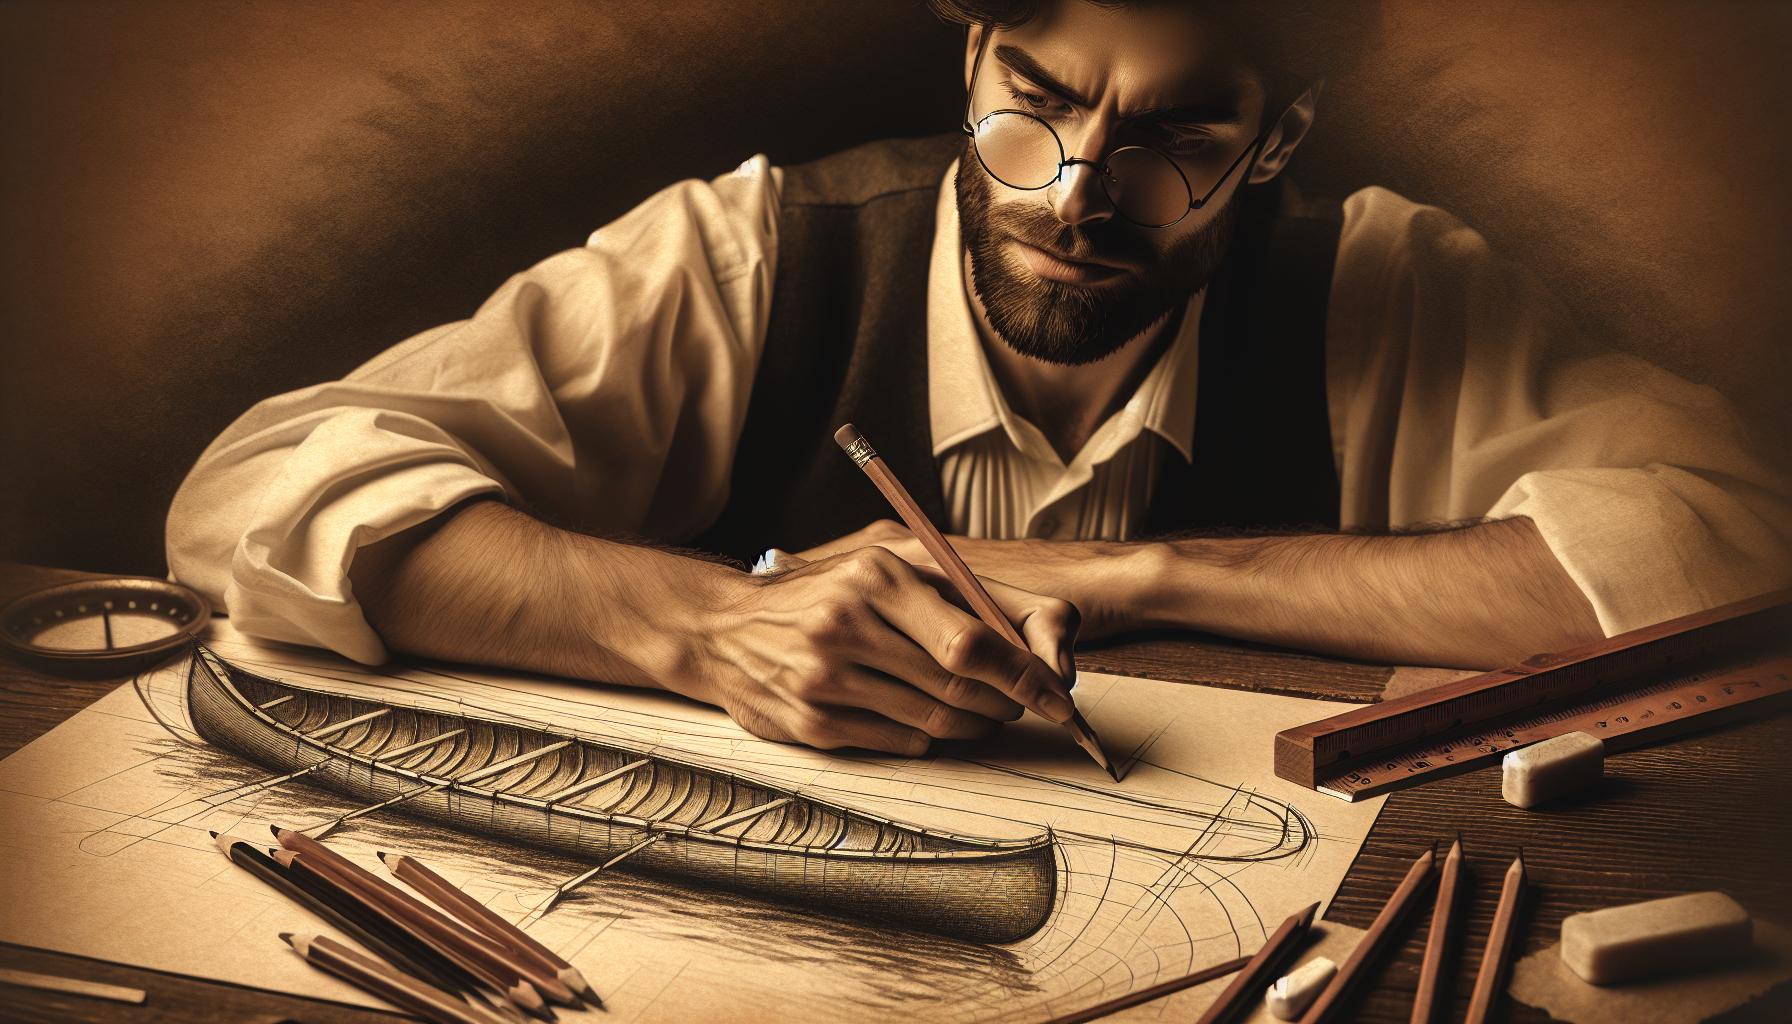
Step-By-Step Guide On How To Draw A Canoe

Follow these steps to create an accurate and visually appealing canoe illustration. Each stage builds on the previous, ensuring your final drawing is detailed and realistic.
Sketch The Basic Outline
Start with a light outline using your HB pencil. Draw a long, horizontal line to represent the canoe’s bottom. Add two curved lines extending upwards from each end of the horizontal line to shape the canoe’s sides. Connect the ends of these curves with a smaller curved line to form the top edge. Keep the sketch symmetrical by using a ruler or lightly marking reference points.
Add Details To The Canoe Shape
Enhance the canoe’s structure by sketching its interior and features. Add parallel lines inside the basic outline to suggest the edges of the canoe’s seating area. Include small, rounded rectangles for seats, spacing them evenly. Draw a vertical line at each end of the canoe to represent the bow and stern.
Refine The Edges And Lines
Go over your initial sketch with a softer pencil to emphasize key lines. Smooth out uneven curves along the top and bottom edges of the canoe. Correct errors using a kneaded eraser. Slightly taper the tip and rear to create a realistic shape. Ensure all lines are neat and well-defined.
Add Final Touches And Shading
Shade the canoe to add depth and dimension. Use a soft pencil to apply gradual shading along the bottom edge and inside the canoe. Blend the graphite with blending tools for smooth transitions. Include subtle hatching or cross-hatching for texture. Erase stray marks to keep the drawing clean, and consider highlighting reflective areas with the eraser for a polished finish.
Tips And Tricks For Drawing A Canoe
Applying practical techniques enhances your canoe drawing’s realism and accuracy. Use these tips to refine your artwork and develop a distinctive style.
Understanding Canoe Proportions
Focus on the canoe’s elongated, narrow shape to ensure accurate proportions. Measure the length-to-width ratio using a ruler, commonly around 6:1 or 7:1 in typical canoe designs. Outline the body as a symmetrical oval or capsule shape before adding details. Maintain consistent spacing between the upper edge, known as the gunwale, and the bottom interior curve to capture depth.
Include features like thwarts and seats proportionally within the canoe. Place thwarts evenly spaced along the canoe’s length, usually at 1/3 intervals. Adjusting these details to scale helps your canoe resemble real-life dimensions.
Experimenting With Perspectives
Vary the angle of your outline to create dynamic viewpoints of the canoe. To illustrate a side view, emphasize the sleekness and curvature of the hull. For a top-down view, focus on symmetry, particularly in the gunwale, thwarts, and seats. Sketch faint perspective lines using a ruler to maintain proportional accuracy when starting.
Use low vanishing points to draw three-quarter angles, which depict the canoe’s interior while preserving depth. This perspective showcases both the length and contour, making the drawing visually engaging. Experiment with these perspectives to explore unique compositions for your art.
Common Mistakes To Avoid
Avoiding typical drawing mistakes helps you create a balanced and realistic canoe illustration. Addressing potential errors ensures a smoother drawing process and better results.
Overcomplicating The Design
Focus on simplicity when sketching a canoe. Adding too many details or textures early can make the drawing look cluttered. Start with basic shapes like ovals for the canoe’s body and refine as you progress. Avoid excessive cross-hatching or shading during initial stages, as it may distort clarity. Keep the design clean by prioritizing fundamental outlines before incorporating intricate elements such as seats, thwarts, or woodgrain textures.
Neglecting Proportions
Ensure proportional accuracy in your drawing. Disregarding the proper length-to-width ratio, often 6:1 or 7:1, can result in an unrealistic appearance. Maintain symmetry by measuring dimensions using a ruler and confirm that features like seating and thwarts are evenly spaced. Misaligned or disproportionate components affect the overall visual balance and might make the sketch appear distorted. Use light guidelines to achieve precise proportions before thickening key lines.
Conclusion
Drawing a canoe is a fantastic way to challenge your creativity while honing your artistic skills. With the right tools, a clear plan, and a bit of patience, you can transform simple shapes into a stunning illustration. Remember to take your time, focus on proportions, and enjoy the process as you bring your canoe to life on paper. Whether you’re a beginner or an experienced artist, this project offers plenty of opportunities to improve and experiment. So grab your pencil and start creating your own masterpiece!
Frequently Asked Questions
What materials do I need to draw a canoe?
To draw a canoe, you’ll need an HB pencil for outlining, softer pencils for shading, a kneaded eraser for corrections, high-quality drawing paper, a ruler for symmetry, blending tools for smooth transitions, and a sharpener for fine details. These tools ensure accuracy and enhance the final drawing.
Do I need professional skills to draw a canoe?
No, professional skills aren’t necessary. Drawing a canoe requires practice, patience, and a step-by-step approach. This article simplifies the process so hobbyists and beginners can create a realistic illustration.
How do I get the right proportions for my canoe drawing?
A good rule of thumb is to use a length-to-width ratio of 6:1 or 7:1. Ensure features like seats and thwarts are evenly spaced. A ruler and light guidelines can help maintain accuracy.
What are common mistakes to avoid when drawing a canoe?
Avoid overcomplicating your design by starting with basic shapes and refining gradually. Use a ruler for symmetry, avoid skipping light guidelines, and focus on proportion to ensure a balanced and realistic drawing.
How can I make my canoe drawing look more realistic?
To enhance realism, use shading techniques like blending and hatching to add depth and texture. Experiment with perspectives (e.g., side and top-down views) and faint perspective lines to show the canoe’s interior.
Why is shading important when drawing a canoe?
Shading adds depth, dimension, and texture to your canoe drawing, making it look more lifelike. Combining techniques like blending and hatching enhances the smooth curves and realistic appearance.
Can I draw a canoe from different perspectives?
Yes, experimenting with various perspectives, such as side views and top-down views, can create dynamic compositions. Use low vanishing points and perspective lines to maintain depth and accuracy.
How can I ensure symmetry in my canoe drawing?
To ensure symmetry, use a ruler to measure dimensions and draw light guidelines. This helps keep proportions consistent and makes the canoe look balanced in your final illustration.
How can I improve the finish of my canoe drawing?
Focus on refining edges and adding detailed touches, such as textured shading and blending for smooth transitions. Using high-quality materials and taking your time during the shading process will enhance the overall finish.
What should I do if I make a mistake?
Mistakes are part of the process! Use a kneaded eraser for clean corrections and redraw lightly where necessary. Keeping your initial sketch soft allows easier adjustments before finalizing the drawing.